My step-daughter is getting married on March 7 and she had the first of 3 bridal showers this weekend. I wanted to make something special for her and her fiance` and this is was I came up with. These are a few of her engagement pictures, choosing from all of those were the hardest part of this project.
The paper and ribbon that was used for this project was leftovers from the wedding invites that we made. Jacque is having a vintage theme for her wedding so when I came across a tutorial on making flowers out of burlap on pinterest Burlap Flower Tutorial and I had to give them a try. The saying I found in the Silhouette library of phrases and cut with vinyl on my Cameo.
For people that are close to me, I love giving presents that I can create. They both loved this
and I am hoping that everytime they look at this, they'll know how much they mean to me.
Thanks for looking!!
Monday, January 27, 2014
Sunday, September 8, 2013
Brridal Shower gift
I wanted to do something different for a shower gift for my niece and I came across towel cakes on Pinterest and it peaked my interest. I found her bridal registry and got her colors for her kitchen. I ended up using 4 hand towels and 4 dish towels. A person can use any type of kitchen utensils to decorate but these were on her list so I went with the spoons and scrubber. I then added added some flowers, which added alot. I thought it turned out great and she loved it. That was what I was going for :)
Sunday, September 23, 2012
I been involved in the Mystery Cropped Event with Above Rubies Studio this weekend . There's been challenges all weekend and this happens to be Challenge #5 and we needed to make something with paper only, no ink, embellishments, etc. This is a layout of my grandson, Michael, at his graduation from kindergarten. I found this paperline at Crafts Direct yesterday and just fell in love with it., its called "Curiosity" Details from Authentique. I hope you like!
Sunday, September 16, 2012
My 1st Diaper Cake
Wow... I can't believe how long its been since I last posted !
Life has been pretty crazy and it's sad to say, but the the first thing that gets neglected is the crafting. I think I need to change that.
The start of the hunting season, for my hubby, opened this weekend and according to him "The Craft Opener" has also begun. LOL! I figured that I better get this season started!!
My goddaughter's baby shower is coming up next weekend and I wanted to do something special for her. I've been hearing, never actually seen one, about diaper cakes so I started poking around the internet and I came across this blog, Sweetaprils, that had a wonderful and easy tutorial on how to make a motorcycle cake.
I love how this turned out! I have to find a driver for this bad boy yet so I'll have to do an update when I find him :)
Things I used:
1 pk (50ct) newborn diapers
4 receiving blankets
- 2 for bike , 2 for cardboard platform
1 pr. of socks
2 onesies
1 bottle
Ribbons to match
rattle & teething ring
I'll also be getting a stuffed animal for the rider and I have a baby hat and another onesie to dress him in.
Thanks so much for looking!!
Happy Crafting Season!!!!
Mary
Thursday, March 22, 2012
Easter boxes
I made these cute little milk cartons with the Tags,Bags,and Boxes2 cartridge. Whats really nice with this cartridge is it scores, with the scoring tool, before it cuts so it makes assembly real easy. Now I just need to add Easter treats and they make great little gifts.
Other products I used:
We R Memory Keepers "Cotton Trails" cardstock
Stampin'Up - "Everybunny" stamp set
- Watercolor pencils
- Scalloped circle punch
- Black ink
- metal embellishments
Nestibilities - scalloped ovals
Ribbon & metal flower brads are from my stash
These boxes are made from the same cartridge and supplies. The only difference is I didn't use the folds for the milk carton, it gives them a different look.
Thanks for looking and have a great day!!
Mary
Thursday, February 9, 2012
Cheerleaders for katie
My niece, who has had 2 ruptered aneurysms in the last 4 months, is now well enough to start rehab. I was up visiting her one evening when a Dr. came in to work with her alittle bit. Katie was getting frustrated and the Dr gave her a pep talk, which included us also. She told Katie that she was the leader and that everyone around her were her cheerleaders and as long as we were cheering, she had to keep going. Well, of course, what do you think comes to my mind..... you got it paperdoll cheerleaders LOL. I thought that since we could not be there all the time , these could be a simple reminder. So when I got home I got right to it.
I used the Everday Paperdolls cart and cut them at 10.75 in., I used Stampin'Up cardstock & markers, and some Baker's twine for the bows.
Her boyfriend was there that night also and Katie said she wanted to see him in a red cheerleading outfit, I think she meant the real thing, but Matt wouldn't cooperate so this was the best we could do. I brought these up and hung them in her hospital room this week, she loved them and was wondering where hers was so I guess I need to make one of her too.
She has come so far and still has a long road ahead of her but I have faith that she will walk out of that hospital soon.
This is a picture of Katie and her Mom (my sister), taken 2 days ago.
Thanks for looking and hope you all have a wonderful day!!
Mary
GO KATIE!!
I used the Everday Paperdolls cart and cut them at 10.75 in., I used Stampin'Up cardstock & markers, and some Baker's twine for the bows.
Her boyfriend was there that night also and Katie said she wanted to see him in a red cheerleading outfit, I think she meant the real thing, but Matt wouldn't cooperate so this was the best we could do. I brought these up and hung them in her hospital room this week, she loved them and was wondering where hers was so I guess I need to make one of her too.
She has come so far and still has a long road ahead of her but I have faith that she will walk out of that hospital soon.
This is a picture of Katie and her Mom (my sister), taken 2 days ago.
Thanks for looking and hope you all have a wonderful day!!
Mary
GO KATIE!!
Sunday, February 5, 2012
Valentines
I can't believe how long its been since I've last posted, it's amazing how life just takes over. Let's just say between the holidays, school and 2 huge medical situations in my family there hasn't been a whole lot of time or desire to do any craftin. A week ago I hosted a card party at my sister's house for her Red Hatter Ladies group and these are the cards I came up with for them to make. It was a fun afternoon, I love sharing my passion with others and seeing the different variations that people come up with using my creations.
Products used:
Stampin'Up -- cardstock, stamps(sentiments), ink, border punch and ribbons
Cuttlebug - heart embossing
Sweethearts cartridge-- scalloped hearts (3, 2.5, 2 in)
Imagine More Cards cart -- hearts in 3rd card (3.5in)
Viva Decor pearl pen
Thanks for stopping by and looking!
Mary
Monday, December 12, 2011
My Snowman
I found this idea on Pinterest, I just love that site, and just knew I had to do it. My kids and grandkids will be home this weekend for our Christmas celebration, I'm thinking they'll get a kick out of it... my husband and I both did- LOL!.
Supplies used:
Cricut Everyday cart- circles 4.5in, 3 in and 2.50
Snowman Friends cart - carrot 9.in cut ( real dial)
DCWV - cardstock for the scarf 3in wide
Black & orange vinyl
So far no snow here in Minnesota, and for now, this is what we get :)
Thanks for looking!
Merry Christmas everyone!!
Mary
Supplies used:
Cricut Everyday cart- circles 4.5in, 3 in and 2.50
Snowman Friends cart - carrot 9.in cut ( real dial)
DCWV - cardstock for the scarf 3in wide
Black & orange vinyl
So far no snow here in Minnesota, and for now, this is what we get :)
Thanks for looking!
Merry Christmas everyone!!
Mary
Friday, December 9, 2011
Christmas block
I've been seeing these glass blocks all over the place and people have done the cutest things with them. So when I came across them, on sale, at my LSS I thought I'd see what I could do with it.
The snowmen are cut out of the printable vinyl, using the Snow Angel Imagine cart, and they were cut at 5 in. The letters are are cut at .50in using the Gypsy font and welded together. I added glittered snow and snowballs to the glass block and tied a fancy ribbon , which I found at Michaels, around it . I found the stand at the same LSS, Crafts Direct, that I the glass block came from.... on sale also! Gotta love sales!!!
The saying reads "Snowmen fall from heaven unassembled", its kinda hard to read in these pictures, that's why I posted in both backgrounds. It was a quick and easy project, it would make a great present but... I think it will stay with me:)
I'm entering this in to a few challenges:
Whimsical Design - Christmas/ Winter project with glitter
Terrific Tuesday Challenge - Christmas
Wacky Wednesday -- Christmas
Thanks for looking and Happy Holidays!!
Mary
The snowmen are cut out of the printable vinyl, using the Snow Angel Imagine cart, and they were cut at 5 in. The letters are are cut at .50in using the Gypsy font and welded together. I added glittered snow and snowballs to the glass block and tied a fancy ribbon , which I found at Michaels, around it . I found the stand at the same LSS, Crafts Direct, that I the glass block came from.... on sale also! Gotta love sales!!!
The saying reads "Snowmen fall from heaven unassembled", its kinda hard to read in these pictures, that's why I posted in both backgrounds. It was a quick and easy project, it would make a great present but... I think it will stay with me:)
I'm entering this in to a few challenges:
Whimsical Design - Christmas/ Winter project with glitter
Terrific Tuesday Challenge - Christmas
Wacky Wednesday -- Christmas
Thanks for looking and Happy Holidays!!
Mary
Thursday, December 8, 2011
Stampin' Up Christmas Cards
I am a fairly new Stampin' Up demonstrator and I recently started up a monthly card club. We meet at my house on a Sat. afternoon, I like to refer it to as our "Ladies Time-Out", and with my SU product I show them how easy it can be to make your own cards. I have snacks, a few giveaways, and everyone leaves with at least 4 cards, that they made themselves, and another little project I've come up with. I usually have between 8-10 people attend and so far its been a blast, it's great to be able to share something you love with others.
These are the cards we made last month, they just happen to be the Christmas cards I'm sending out this year.
The first 2 cards are from my favorite stamp set and designer paper.
Supplies:
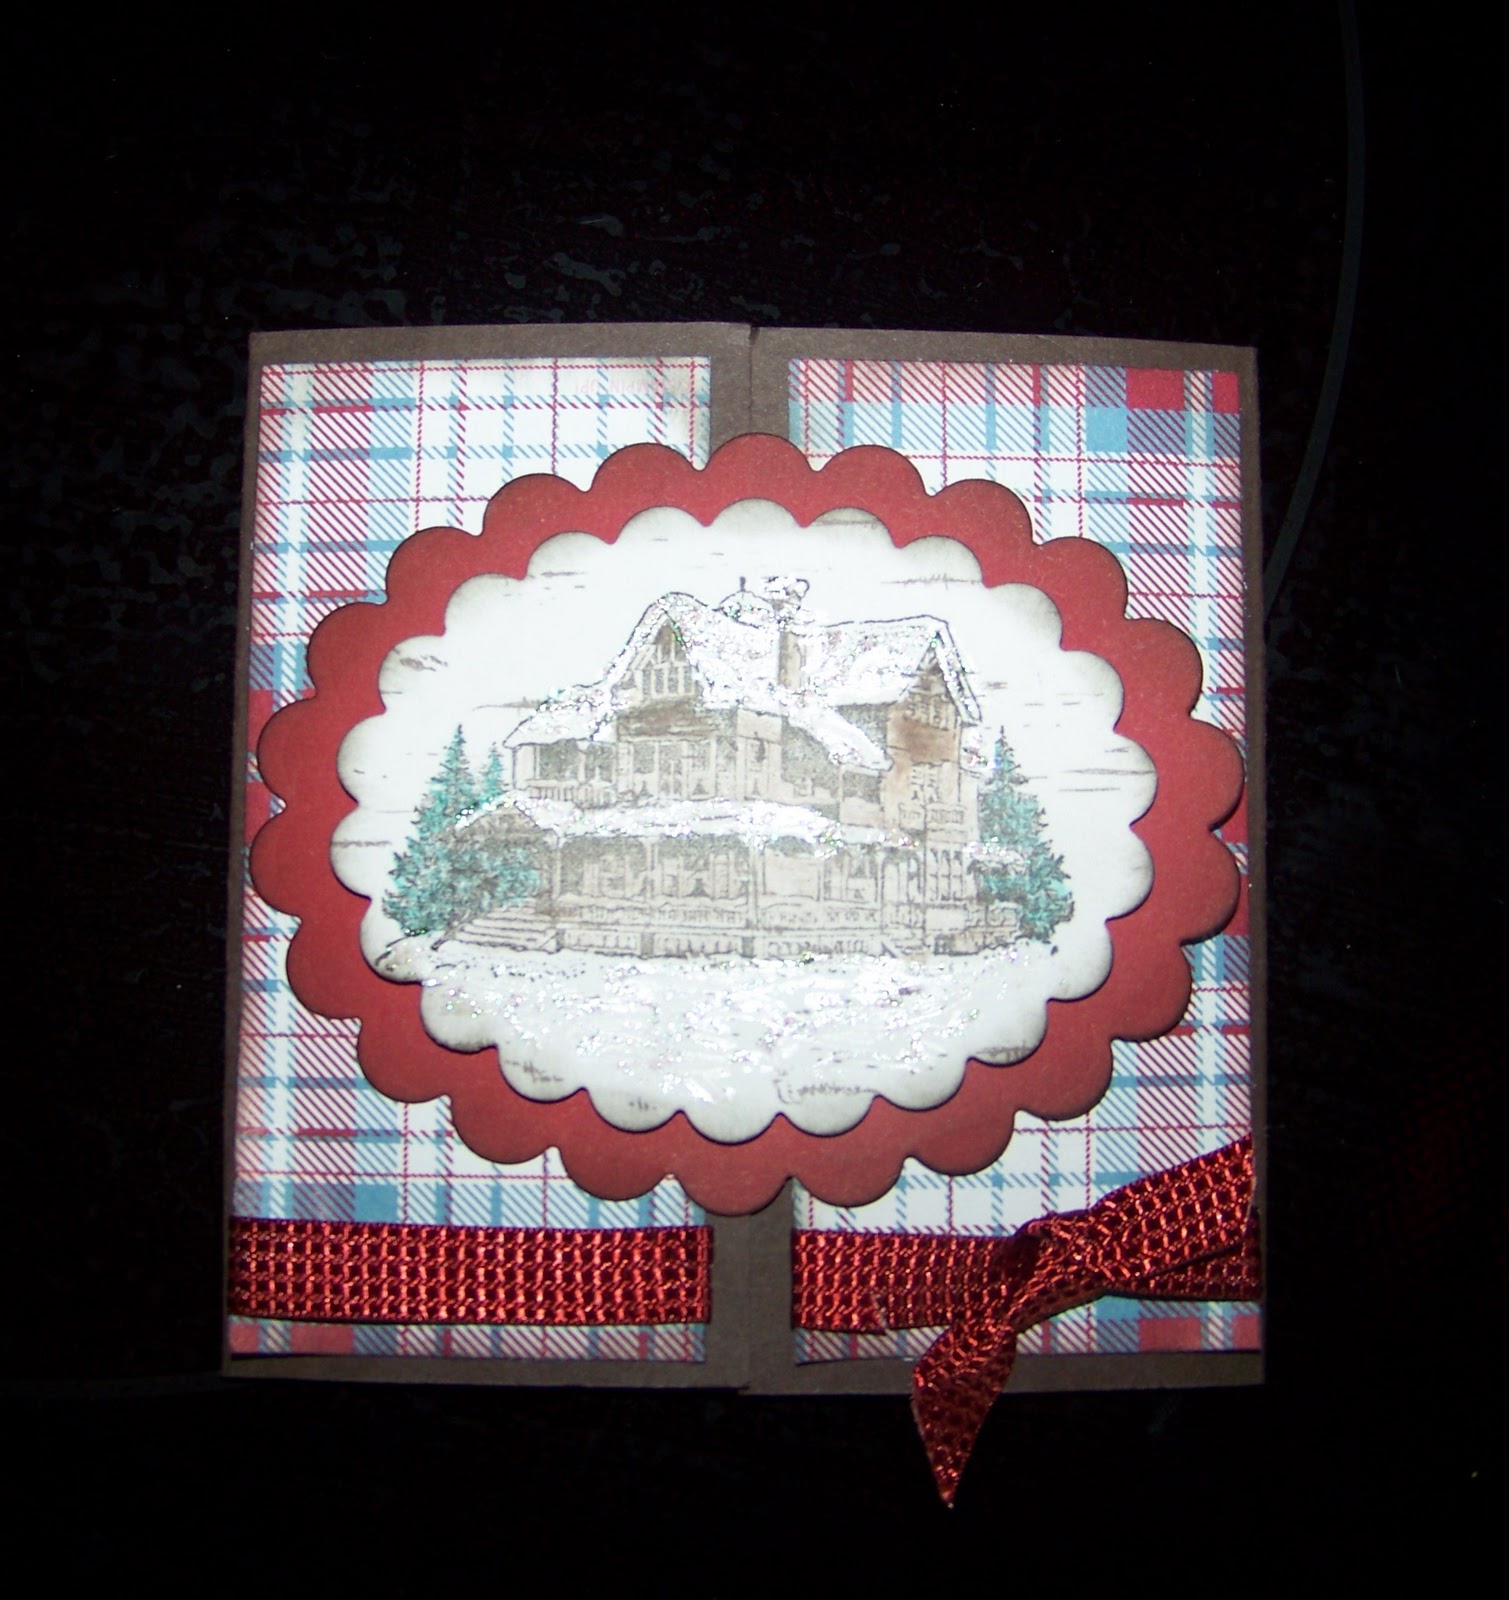
Christmas Lodge Stamps
Frostwood Lodge
Cardstock & Ink - cherry cobbler, early expresso and olive green,whispering white
Dazzling Detail glitter
Water Color pencils
Viva Decor pens - bulbs on tree
Bakers twine for the bow
For this card supplies used:
Delightful Decorations stamp set
Ornament punch
Cobbler Red, Early Expresso, Very Vanilla
Basic Pearls embellishments
Red Cobbler satin ribbon
Mary
Wednesday, December 7, 2011
Redneck Wine Glasses
This weekend is our annual ladies Christmas party. It was started many years ago by my husbands grandma, Marge. Grandma Marge passed away 2 years ago but it was decided to continue on in her memory. It also was decided that every year there would be new hostesses and guess who was chosen for this year.... 2 of my SIL's, a family friend, and I!! We chose a wine theme so the games, prizes and even the gift exchanges all revolve around wine. I came across this idea at our LSS, Crafts Direct,.and just thought this would be perfect for the party. You see we are all from "Up Nort" , "You Betcha", Dont'cha Know" ... and I must not forget
"Uff-DA!!" LOL These Redneck wineglasses will be prizes for our guests
They were easy and very inexpensive to make. The jars are old canning pint size canning jars and the stems are small vases that I found at Savers for .69 ea. Candlestick holders can be used, but I could not find any of those but I thought these worked great. I filled one vace with glitter snow flakes and the other I used MS glitter. I then glued the jars to the vases using E6000 glue and let them fry overnight. I then attached the buttons, ribbon and bakers twine. For the lettering, I used the Mickey Font cartridge cutting the letters at .75in and the numbers at .50in. Everything I used was from my stash excepted for the vases.
And there you have it... beautiful RedNeck Wineglasses
"Uff-DA!!" LOL These Redneck wineglasses will be prizes for our guests
They were easy and very inexpensive to make. The jars are old canning pint size canning jars and the stems are small vases that I found at Savers for .69 ea. Candlestick holders can be used, but I could not find any of those but I thought these worked great. I filled one vace with glitter snow flakes and the other I used MS glitter. I then glued the jars to the vases using E6000 glue and let them fry overnight. I then attached the buttons, ribbon and bakers twine. For the lettering, I used the Mickey Font cartridge cutting the letters at .75in and the numbers at .50in. Everything I used was from my stash excepted for the vases.
And there you have it... beautiful RedNeck Wineglasses
Friday, October 28, 2011
Flowers for Katie
Last Sunday my 22 yr old niece, Katie, had a Brain Aneurysm that burst, by the grace of God, she was saved, and is still with us. She will be in ICU for at least 2weeks and is expected to make a full recovery....God is Good! In the ICU they are not allowed to have real flowers so I thought i would make some up for her. I'm going down to visit her today so last night I whipped this bouquet up to take down to her.
Red is her favorite color so I made sure there was alot of red. I used the Flower Shoppe, Forever Young, and Enjoy the Seasons cartridges. I hope she likes!
Please keep Katie in your prayers, she's got a long road ahead of her.
Thanks for looking!
Mary
Red is her favorite color so I made sure there was alot of red. I used the Flower Shoppe, Forever Young, and Enjoy the Seasons cartridges. I hope she likes!
Please keep Katie in your prayers, she's got a long road ahead of her.
Thanks for looking!
Mary
Tuesday, October 18, 2011
Male Bday card- CTO challenge #35
It's time once again for a new challenge at Celebrate the Occasion. We are being challenged this week to make a male B-day card and it must contain metal. I wanted to try something different so here is what I came up with.
I've heard of people embossing pop cans so that is what did. I cut up a can and used a 3.75x 3.25 piece of it and put it though the cuttlebug with a Robotz CB folder. I gotta say, I really love the result!
The products I used for this card:
StoryBook Cartridge
DCWV Cardstock
Stampin'UP- Black & Whispering White cardstock
Stampin'Up - "Perfect Words" stamp set
Stampin'Up - black ink
Fiskars "Happy birthday" stamp
Robotz CB folder
Viva Decor silver liner
Diet Mountain Dew can from my recycling bin
The metal screw brads, wire and orange paper are from my stash
Cards for men are always such a challenge, so are you up for it?? First, head on over to CTO and get inspired by all the super talented designers, and then start creating. You have til Sun. the 23th to post your project. We would love to be inspired by you :)
Thanks for stopping and have an awesome day!!
Mary
I've heard of people embossing pop cans so that is what did. I cut up a can and used a 3.75x 3.25 piece of it and put it though the cuttlebug with a Robotz CB folder. I gotta say, I really love the result!
The products I used for this card:
StoryBook Cartridge
DCWV Cardstock
Stampin'UP- Black & Whispering White cardstock
Stampin'Up - "Perfect Words" stamp set
Stampin'Up - black ink
Fiskars "Happy birthday" stamp
Robotz CB folder
Viva Decor silver liner
Diet Mountain Dew can from my recycling bin
The metal screw brads, wire and orange paper are from my stash
Cards for men are always such a challenge, so are you up for it?? First, head on over to CTO and get inspired by all the super talented designers, and then start creating. You have til Sun. the 23th to post your project. We would love to be inspired by you :)
Thanks for stopping and have an awesome day!!
Mary
Tuesday, October 4, 2011
Fight Like a Girl!! CTO challenge #33
Hello and welcome to another great challenge at Celebrate the Occasion. Our challenge this week was to create a project for Breast Cancer Awareness month.
This is the card that I came up with.
The products I used:
Everyday PaperDolls Cartridge - 3.25in
Blossoms Imagine Cartridge - pink paper
Stand & Salute Cartridge - .50in pink ribbon
Gypsy Font Cartridge- .75 in
Spellbinders Nestibilities- scallop oval
Cuttlebug Folder
Viva DecorPearl Pens
We R Memory Keepers Pink Floss
Stampin'Up Whispering White cardstock
Stampin'Up Dimensionals
Peach keen EveryDay Character Faces
Thanks for stopping! Make sure you head back to CTO's blog and check out the rest of the DT's fabulous creations.
I'm also entering this in a few other challenges:
Link Up for Pink Linking party
My Sheri Crafts - Think Pink
And remember ladies... Do your monthly breast self-exams and get in for your yearly Mammograms!!!
Have a great day!
Mary
This is the card that I came up with.
The products I used:
Everyday PaperDolls Cartridge - 3.25in
Blossoms Imagine Cartridge - pink paper
Stand & Salute Cartridge - .50in pink ribbon
Gypsy Font Cartridge- .75 in
Spellbinders Nestibilities- scallop oval
Cuttlebug Folder
Viva DecorPearl Pens
We R Memory Keepers Pink Floss
Stampin'Up Whispering White cardstock
Stampin'Up Dimensionals
Peach keen EveryDay Character Faces
Thanks for stopping! Make sure you head back to CTO's blog and check out the rest of the DT's fabulous creations.
I'm also entering this in a few other challenges:
Link Up for Pink Linking party
My Sheri Crafts - Think Pink
And remember ladies... Do your monthly breast self-exams and get in for your yearly Mammograms!!!
Have a great day!
Mary
Saturday, October 1, 2011
Fiskateers Orange Blog hop!
For the trick or Treat Blog Hop go HERE
Good Morning and Welcome!
This is a stop on the Orange Blog Hop where members of Fiskateers, a community sponsored by Fiskars, is sharing their passion for crafting." I am Fiskateer #6811 and am proud to be a part of this wonderful community.
If you have come from Marianne's (6701) blog , then you are in the right spot. If not, and you want to start at the beginning, go to Debby's (2852) blog. and start from there. There will be some awesome projects and some candy along the way, so you will not want to miss a thing.
For my project today I made a petal card. I found this at Splitcoasterstampers and they had a great tutorial on how to make it.
I really love how this card turned. I wanted to have something pop out when it opened and I actually made it work.... I LOVE it when that happens LOL!
Recipe for card:
StoryBook Cricut cartridge- 4- 5in. scallop circles
George & Basic Shapes - 2- 4in circles
Happy Hauntings - 2 - 2in ghosts, 1.5 in. Boo
K&Company Halloween cardstock
Stampin'Up black cardstock
Stampin'Up My Digital Studio- Happy Halloween sentiment
Spellbinders Nestibilities- 2 scallop ovals
Martha Stewart purple glitter
Martha Stewart Scoreboard
Peachy Keen Monster face stamps
Fiskars paper trimmer
My very own hand-crafted spring made from wire I found in the jewelry dept at my LSS.
Thanks for stopping by, I hope you liked my project and have been inspired so far. Now it's time to head on over to the talented Shannon (6394) and see what she has created.
But wait... before you move on we have to have some blog candy, but I have a slight problem. I was going to go pick up some goodies yesterday but a Dr.'s visit in the afternoon ended up being an evening in the ER with my hubby, Kidney stones got the best of him but is doing better So the blog candy will be a surprise, we all like surprises, right??!! Just leave me a comment and a way to get a hold of you , I'll pick a winner on Monday evening.
Have a great day!
Mary
Good Morning and Welcome!
This is a stop on the Orange Blog Hop where members of Fiskateers, a community sponsored by Fiskars, is sharing their passion for crafting." I am Fiskateer #6811 and am proud to be a part of this wonderful community.
If you have come from Marianne's (6701) blog , then you are in the right spot. If not, and you want to start at the beginning, go to Debby's (2852) blog. and start from there. There will be some awesome projects and some candy along the way, so you will not want to miss a thing.
For my project today I made a petal card. I found this at Splitcoasterstampers and they had a great tutorial on how to make it.
I really love how this card turned. I wanted to have something pop out when it opened and I actually made it work.... I LOVE it when that happens LOL!
Recipe for card:
StoryBook Cricut cartridge- 4- 5in. scallop circles
George & Basic Shapes - 2- 4in circles
Happy Hauntings - 2 - 2in ghosts, 1.5 in. Boo
K&Company Halloween cardstock
Stampin'Up black cardstock
Stampin'Up My Digital Studio- Happy Halloween sentiment
Spellbinders Nestibilities- 2 scallop ovals
Martha Stewart purple glitter
Martha Stewart Scoreboard
Peachy Keen Monster face stamps
Fiskars paper trimmer
My very own hand-crafted spring made from wire I found in the jewelry dept at my LSS.
Thanks for stopping by, I hope you liked my project and have been inspired so far. Now it's time to head on over to the talented Shannon (6394) and see what she has created.
But wait... before you move on we have to have some blog candy, but I have a slight problem. I was going to go pick up some goodies yesterday but a Dr.'s visit in the afternoon ended up being an evening in the ER with my hubby, Kidney stones got the best of him but is doing better So the blog candy will be a surprise, we all like surprises, right??!! Just leave me a comment and a way to get a hold of you , I'll pick a winner on Monday evening.
Have a great day!
Mary
Trick or Treat blog hop
Good Morning and Welcome to the Trick or Treat blog hop. I just love Halloween, as a child it was fun getting all dressed up , going out and getting all the candy lol. Now, as an adult I love giving out the candy and seeing all that excitement in the eyes of the little people.
For this hop we're making Halloween projects that pertain to those holiday treats. If you just hopped from Elaine's then you are on the right track,if not, you'll want to head back to Angie's and start at the beginning.
I found my treat holder idea at Splitcoaststampers. I just love this site, I get so many ideas and inspiration there and the tutorials they give are amazing.
I actually made 10 treat holders and each one is decorated a little different. What's nice about these are you could decorate for different occasions.
Some of the products used are:
Happy Haunting Cartridge
Viny
Stampin Up cardstock
Stampin Up "My Digital Studio"
Martha Stewart "Drippy Goo" border punch
Viva decor Red pen liner
Test Tubes from my LSS
Ribbon is from my stash
There are 3 great prizes being offered up and will be drawn Monday evening. You must leave a comment on each blog to be entered into the drawing.
Thanks for stopping by, now head on over to the super talented Wendy and see what she has created.
Have a great day!
Mary
For this hop we're making Halloween projects that pertain to those holiday treats. If you just hopped from Elaine's then you are on the right track,if not, you'll want to head back to Angie's and start at the beginning.
I found my treat holder idea at Splitcoaststampers. I just love this site, I get so many ideas and inspiration there and the tutorials they give are amazing.
I actually made 10 treat holders and each one is decorated a little different. What's nice about these are you could decorate for different occasions.
Some of the products used are:
Happy Haunting Cartridge
Viny
Stampin Up cardstock
Stampin Up "My Digital Studio"
Martha Stewart "Drippy Goo" border punch
Viva decor Red pen liner
Test Tubes from my LSS
Ribbon is from my stash
There are 3 great prizes being offered up and will be drawn Monday evening. You must leave a comment on each blog to be entered into the drawing.
Have a great day!
Mary
Tuesday, September 20, 2011
Birthday with Balloons - CTO #31
Hello Everyone!! It's time once again for another new challenge at Celebrate the Occasion. This week our challenge is to create a birthday project with a balloon on it. Those two go so well together, so easy peasy, right?
I'm really excited about my project and the reason why is.... I got to use my IMAGINE, imagine that!! I purchased my machine in early July. I swore I'd never get one of these, but was convinced, so I started bidding on Ebay and we ALL know how that goes... I won!!! So to make a long story short, I had to send the machine back 3 times. I received the 4th and it WORKS!!
This is the first project I've made with it.
Recipe for this card: -
Best Friends Imagine cart- background paper, girl & balloons
Martha Stewart Drippy Goo Border Punch - grass
Fiskars Tag Squeeze punch- tag
Stampin Up "Create a Cucake" stamp set - sentiment
Stampin Up Dimensionals
Stampin Up Black ink
Come join us in the challenge! First, go check out the rest of the Designers projects, you'll be inspired!
Happy Creating!!!
Mary
I'm really excited about my project and the reason why is.... I got to use my IMAGINE, imagine that!! I purchased my machine in early July. I swore I'd never get one of these, but was convinced, so I started bidding on Ebay and we ALL know how that goes... I won!!! So to make a long story short, I had to send the machine back 3 times. I received the 4th and it WORKS!!
This is the first project I've made with it.
Recipe for this card: -
Best Friends Imagine cart- background paper, girl & balloons
Martha Stewart Drippy Goo Border Punch - grass
Fiskars Tag Squeeze punch- tag
Stampin Up "Create a Cucake" stamp set - sentiment
Stampin Up Dimensionals
Stampin Up Black ink
Come join us in the challenge! First, go check out the rest of the Designers projects, you'll be inspired!
Happy Creating!!!
Mary
Sunday, September 18, 2011
Fall Colors
Oh... the things you can find on Youtube!!
I came across this video by Amanda Maue on how to make a gift box with a 12x12 piece of cardstock.. It looked pretty easy to make so I thought I'd give it a try. I really like how it turned out.
This is with it opened up, wouldn't it be cute to add some pictures to the squares? I think there is so much you could do with this besides a gift box. I was also thinking it would make a great Fall centerpiece.
For this project I used the new Harvest Gathering cardstock by DCWV, the Flower Shoppe cart, Pop-Up Neighborhood cart, Old West cart. SU marker& ink, and the crinkle paper and ribbon is from my stash.
I made this for a few challenges:
Love to Crop- Fall Colors
Decorate to Celebrate- Anything goes
My Craft Spot - Happy Harvest
Papercraft Weekend Challenge - Photo Inspiration
Thanks for looking! I hope everyone is having a great weekend!!
I came across this video by Amanda Maue on how to make a gift box with a 12x12 piece of cardstock.. It looked pretty easy to make so I thought I'd give it a try. I really like how it turned out.
This is with it opened up, wouldn't it be cute to add some pictures to the squares? I think there is so much you could do with this besides a gift box. I was also thinking it would make a great Fall centerpiece.
For this project I used the new Harvest Gathering cardstock by DCWV, the Flower Shoppe cart, Pop-Up Neighborhood cart, Old West cart. SU marker& ink, and the crinkle paper and ribbon is from my stash.
I made this for a few challenges:
Love to Crop- Fall Colors
Decorate to Celebrate- Anything goes
My Craft Spot - Happy Harvest
Papercraft Weekend Challenge - Photo Inspiration
Thanks for looking! I hope everyone is having a great weekend!!
Monday, September 12, 2011
Easel Card- Paper Playtime # 55
Labels:
Cindy Lou,
Stampin Up,
The Flower Shoppe
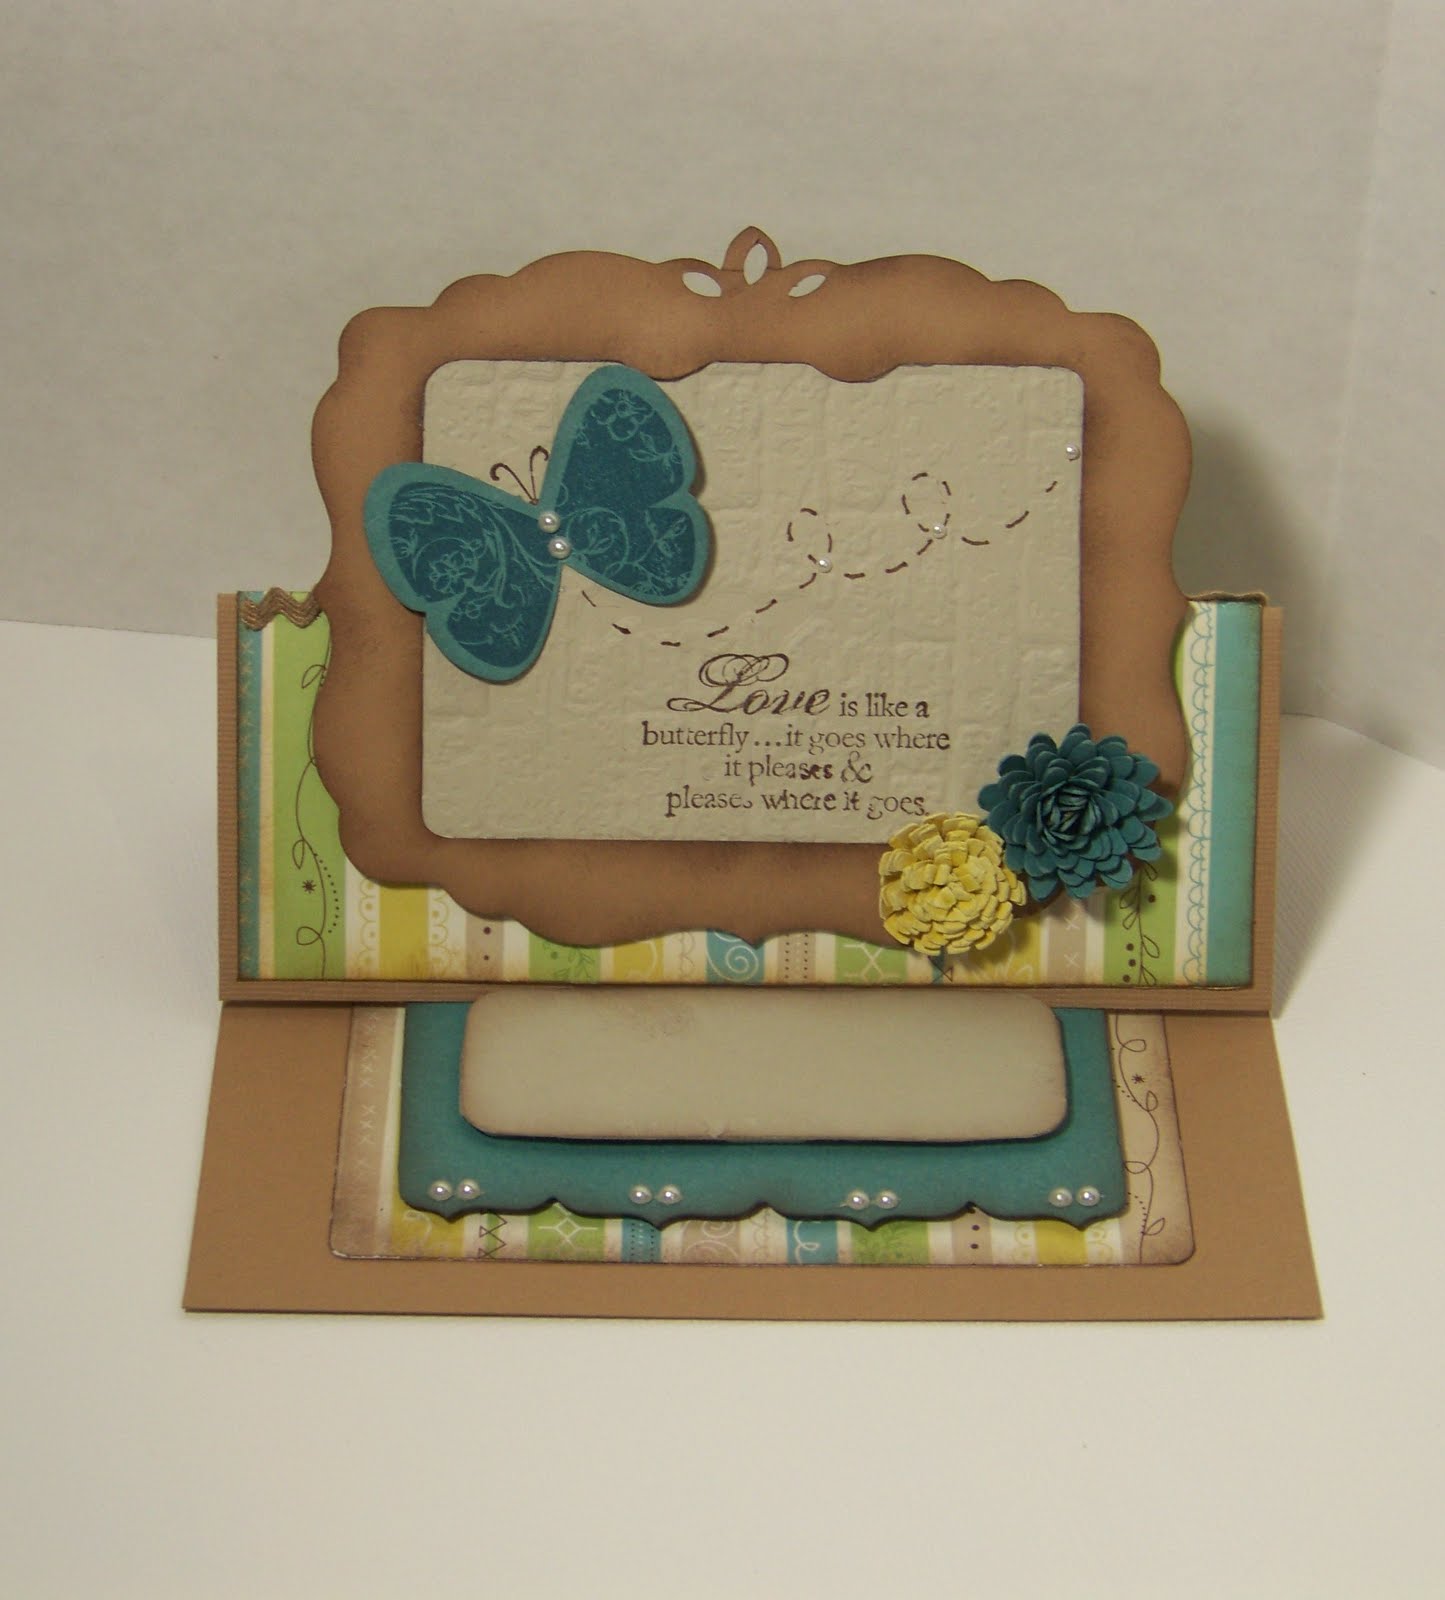
It's time once again for another new challenge at Paper Playtime. For this week the challenge is to make an easel card. For someone who makes mostly standard A2 cards , it's really nice to make something different.
I really need to challenge myself more often.
I'm not totally pleased with how this card turned out. I stamped the sentiment on after I embossed it and...
well... as you can see, not very good. I didn't have time to make another card so please do accept my apologies.
Supplies I used:
The Floral Shoppe -- 2.00 & 2.50 in.
Cindy Lou -- frame 3.75in
DCWV "Doodlin Around" stack
American Crafts cardstock
Stampin Up "Butterfly Prints" -- sentiment & butterfly stamp
Butterfly punch
Inks - Island Indigo & Chocolate Chip
Pearls
Tim Holts Alterations embossing folder
RicRac ribbon was found in my stash
Don't forget to go look at the fabulous projects the other designers created. You can also join in on the challenge, so start creating!
Thanks for looking and have a great day!!
Mary
I really need to challenge myself more often.
I'm not totally pleased with how this card turned out. I stamped the sentiment on after I embossed it and...
well... as you can see, not very good. I didn't have time to make another card so please do accept my apologies.
Supplies I used:
The Floral Shoppe -- 2.00 & 2.50 in.
Cindy Lou -- frame 3.75in
DCWV "Doodlin Around" stack
American Crafts cardstock
Stampin Up "Butterfly Prints" -- sentiment & butterfly stamp
Butterfly punch
Inks - Island Indigo & Chocolate Chip
Pearls
Tim Holts Alterations embossing folder
RicRac ribbon was found in my stash
Don't forget to go look at the fabulous projects the other designers created. You can also join in on the challenge, so start creating!
Thanks for looking and have a great day!!
Mary
Wednesday, September 7, 2011
School Days/Birthday
Our grandson starts kindergarten on Friday and it just happens to be his birthday also. He turns 6 and gets to go to school, how fun is that? I saw this knapsack on Campin Critters so I thought it would be fun to make and fill with some goodies.
The recipe for my project
Campin Critters- knapsack 11.25 in
Robotz- robot 2.75
American Crafts- cardstock
SU- sentiment and Red Cobbler ink
buttons and book stickers I found in my stash.
I'm entering my project in a few challenges:
Cooking With the Cricut -- School Days
Crafty Creations -- Anything but a square
Crafty Sprouts -- Get in Shape
Thanks for Looking
Mary
Subscribe to:
Posts (Atom)